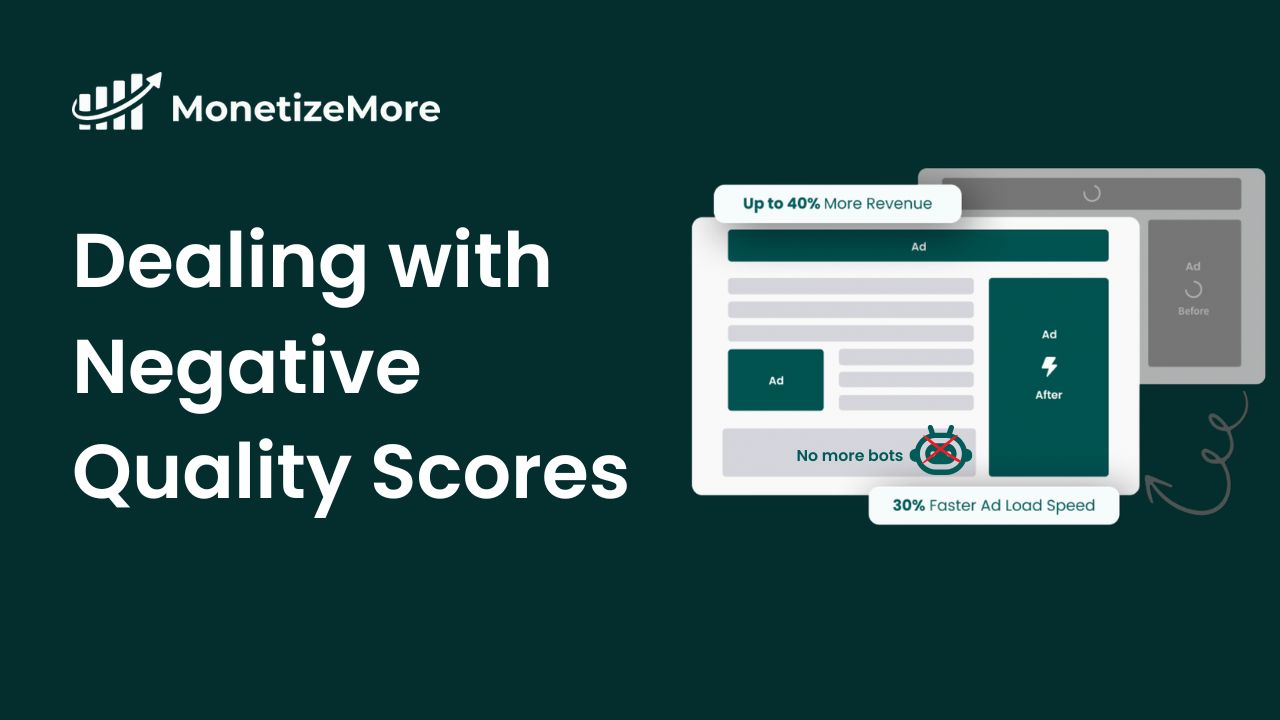
Received the dreaded Google Ad Manager email threatening MCM/GCPP termination due to a negative Quality Score? If your Quality Score dipped below 0, Google just…
What is Referral Marketing and How Does It Impact Revenue? Referral marketing is a strategy where you encourage your existing customers to promote your products…
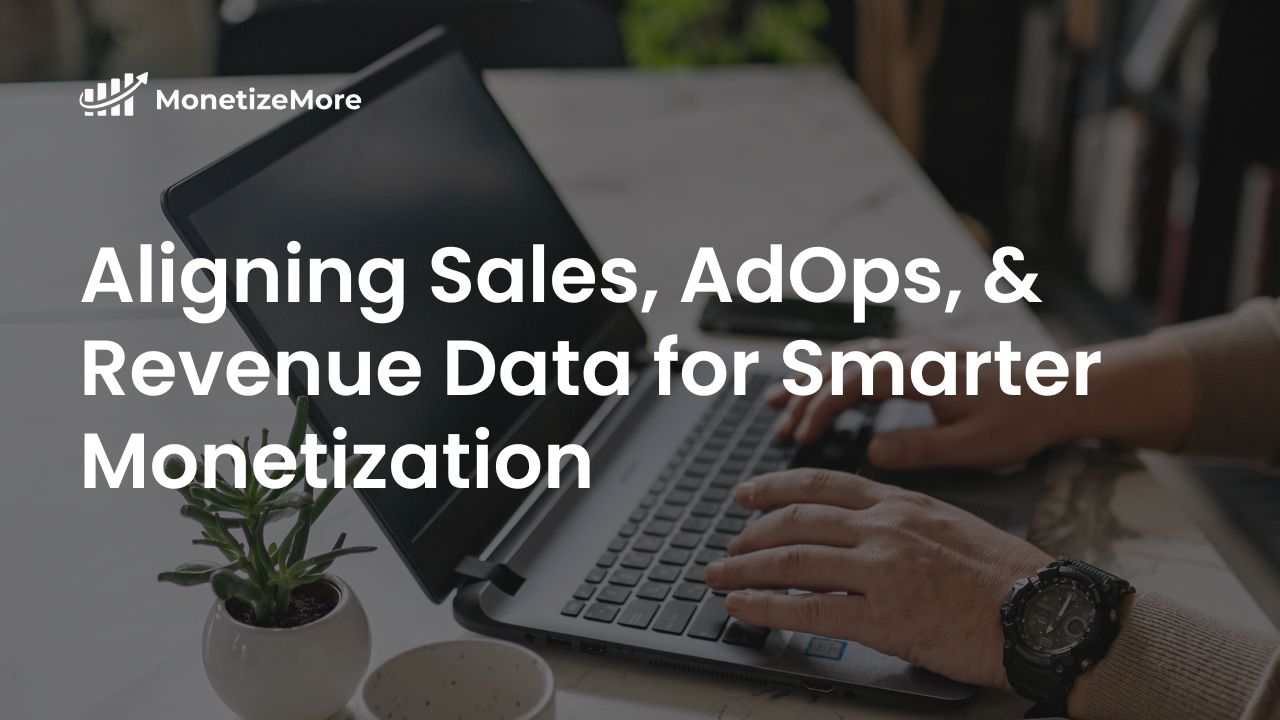
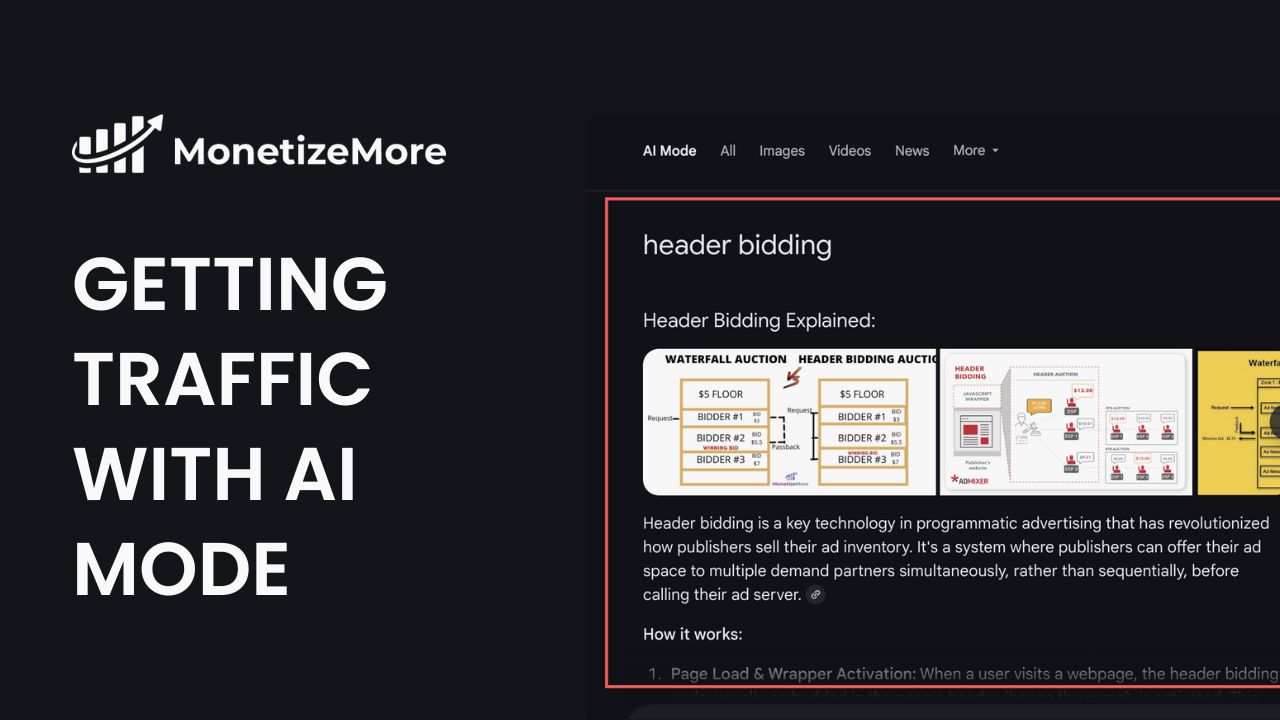
In today's AI mode crushing SERP's era, content alone is no longer the primary differentiator; operational efficiency and data alignment are. Sales, ad ops, and…
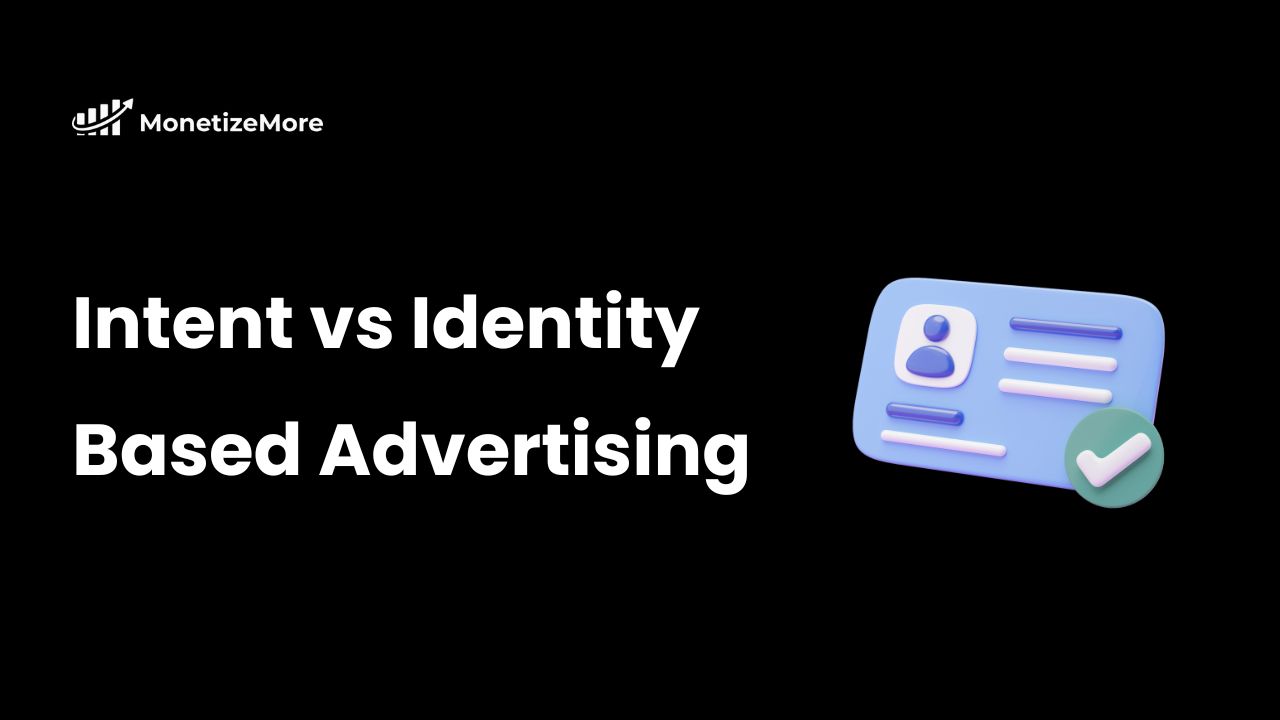
For decades, programmatic advertising has been built on a flawed premise: tracking people, rather than their motivations. Cookies, device IDs, and invasive profiling tools promised…
Spotlight on Apple Intelligence and New Media Interaction Tools Apple’s WWDC 2025 event wasn’t just for developers; it was a wake-up call for publishers looking…
Is your ad tech silently strangling your revenue? In today’s attention economy, every millisecond counts. Slow-loading ad scripts don’t just frustrate users; they demolish page…
Your Google traffic evaporated overnight. You followed the rules. You published great content. You built links. You optimized. Now? Crickets. AI Mode doesn’t "rank" pages;…
Connected TV (CTV) has exploded in popularity in recent years, driven by the growth of streaming services and cord-cutting. For publishers, CTV represents a lucrative…
Google's AI Mode rollout marks a pivotal shift in how users interact with search. Rather than simply providing a list of links, AI Mode offers…
By signing up, you agree to our Privacy Policy.