
Sign up today and see the results for yourself!
Want to speed up your verification process?
Share a screenshot of your ad revenue from the past 3 months.
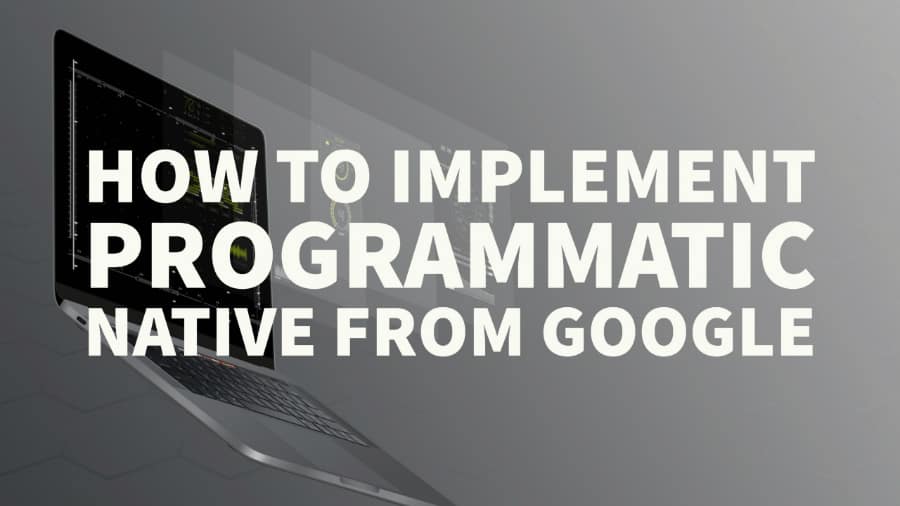
Publishers can now run native ads from Ad Exchange for both websites and apps. Google calls this new feature “Programmatic Native” where publishers, through DFP, can create and traffic engaging native ads that may adapt to the look and feel of the site.

Step 1: DFP gets an ad request from a site or app.
Step 2: If the publisher has configured native backfill, a request goes to Ad Exchange which sends out bid requests for any of the standard native ad formats the publisher can accept. Bidders provide native ad components instead of a traditional tag.
Step 3: Ad Exchange demand then competes against the publisher’s direct-sold ads to maximize yield.
Step 4: The winning native creative components are inserted into the publisher’s native styles — whether the creative comes from backfill, reservations, or programmatic deals.
You can manually edit the CSS in the code editor. Check the preview and click ‘Validate’ every time you deploy changes:

After all the changes and validation shows ‘Validation up-to-date’, click Save.

On the Native Styles page, you may tick the style you just created and click ‘Copy.’

Open the copied style and edit the name, size, targeting, style, etc. as necessary. You can create as many styles as you want.
Should you wish to run an A/B test, do the following:

To modify an ongoing experiment, open the Native Style and click ‘Modify or end experiment’. To view results, click ‘View A/B Experiment’. Once you have sufficient data to determine the winner, click either ‘keep original’ or ‘use experiment’.

Want help taking your ad revenue to the next level? MonetizeMore is a Google Certified Publisher Partner, ready to optimize your ad inventory for the best results! Sign up to get started today!

Marketing MBA and Global Marketing Manager at MonetizeMore.


10X your ad revenue with our award-winning solutions.