
Sign up today and see the results for yourself!
Want to speed up your verification process?
Share a screenshot of your ad revenue from the past 3 months.
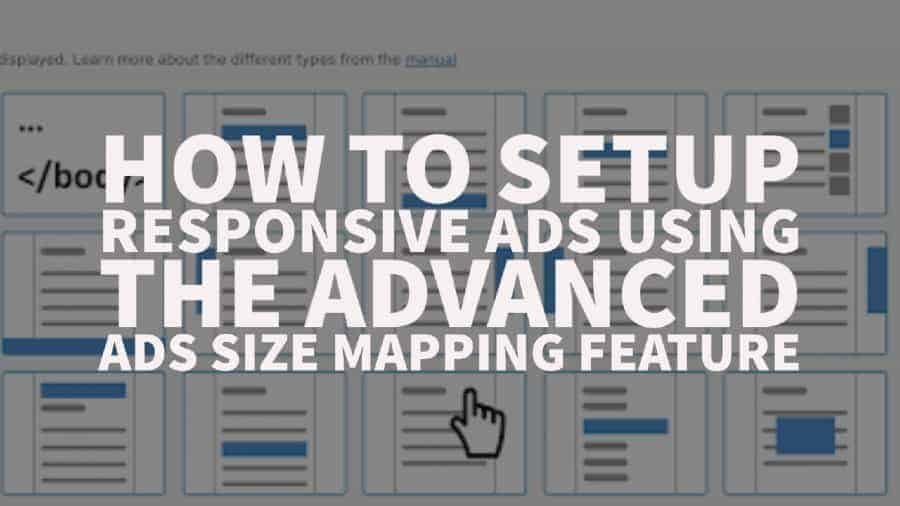
Advanced Ads is a WordPress ad implementation plugin that has highly sophisticated features, making it the best tool for publishers looking for a plugin that gives them flexibility in ad implementation while adhering to policies.
Size Mapping is one of those features that ensure no inappropriate ad sizes are served on any device, at any given time. It makes ad implementation a lot easier because you won’t have to worry about targeting or getting penalized for accidental clicks due to extremely large ads or experience a drop in revenue due to extremely small ads relative to the screen size.
Google’s latest algorithm updates prioritize page experience and responsible ad practices. Poorly sized ads harm UX, trigger penalties for accidental clicks, and slash revenue. Here’s how Size Mapping solves this:
Step 1: Download Advanced Ads if not done yet and activate it
Step 2: Go to Advanced Ads > Ads

Step 3: Click New ad on the upper left hand corner

Step 4: Name Your Ad: Use a clear format like “Desktop_Leaderboard_728x90” for easy tracking.

Step 5: Select the type of tag you’re deploying (e.g. AdSense tag – select Plain Text and Code)

Step 6:Insert your Google Ad Manager or AdSense tag under Ad Parameters.

Step 7: Proceed to Visitor Conditions
Define Rules:

Step 8: Select Browser Width from the dropdown

Step 9: Click Add
Step 10: Specify the browser width in pixels where this ad is eligible to serve.
For example, you put “equal or lower” – “728”, that means the code being deployed can only serve if the user’s browser is 728 pixels wide or smaller.

If you select “equal” – “728”, that means this ad can only serve when the user’s browser is exactly 728 pixels wide.
![]()
If you select “equal or higher” – “728”, that means this ad is eligible to serve only if the user’s browser is 728 pixels wide or bigger.
![]()
Step 11: Check the rest of the settings, click Publish on the upper right hand corner once all set

Step 12: Select the placement where you want the ad to show up

Now your ad is live and ready to serve. Repeat the same steps for the rest of your ad tags and be ready to watch your ad revenues grow!
Want to master your ad inventory like the pros? Get started here!
Q: Does Size Mapping work with AMP?
A: Yes! Use the AMP Ads add-on to extend rules to accelerated mobile pages.
Q: How to avoid accidental clicks on mobile?
A: Set minimum spacing between ads and touch targets (e.g., navigation menus).
Q: Can I use this with video ads?
A: Absolutely. Pair with Video Ads Manager for responsive VAST tags.

Kean Graham is the CEO and founder of MonetizeMore & a pioneer in the Adtech Industry. He is the resident expert in Ad Optimization, covering areas like Adsense Optimization,GAM Management, and third-party ad network partnerships. Kean believes in the supremacy of direct publisher deals and holistic optimization as keys to effective and consistent ad revenue increases.


10X your ad revenue with our award-winning solutions.