Sign up today and see the results for yourself!
Want to speed up your verification process?
Share a screenshot of your ad revenue from the past 3 months.

This post was most recently updated on November 24th, 2020
Scammers have become very smart at hiding their identities, making it difficult for publishers to track them down. As a publisher, the last thing you’d like to happen is annoying to our users.
Users abandoning an app or site is terrible for monetization. If redirects attack you, follow this step by step guide to identify and eliminate the culprit:
Step 1: On the Desktop/Laptop: Turn the WiFi on and connect to the WiFi.
Step 2: Click the Wifi icon > Open Network Preferences.
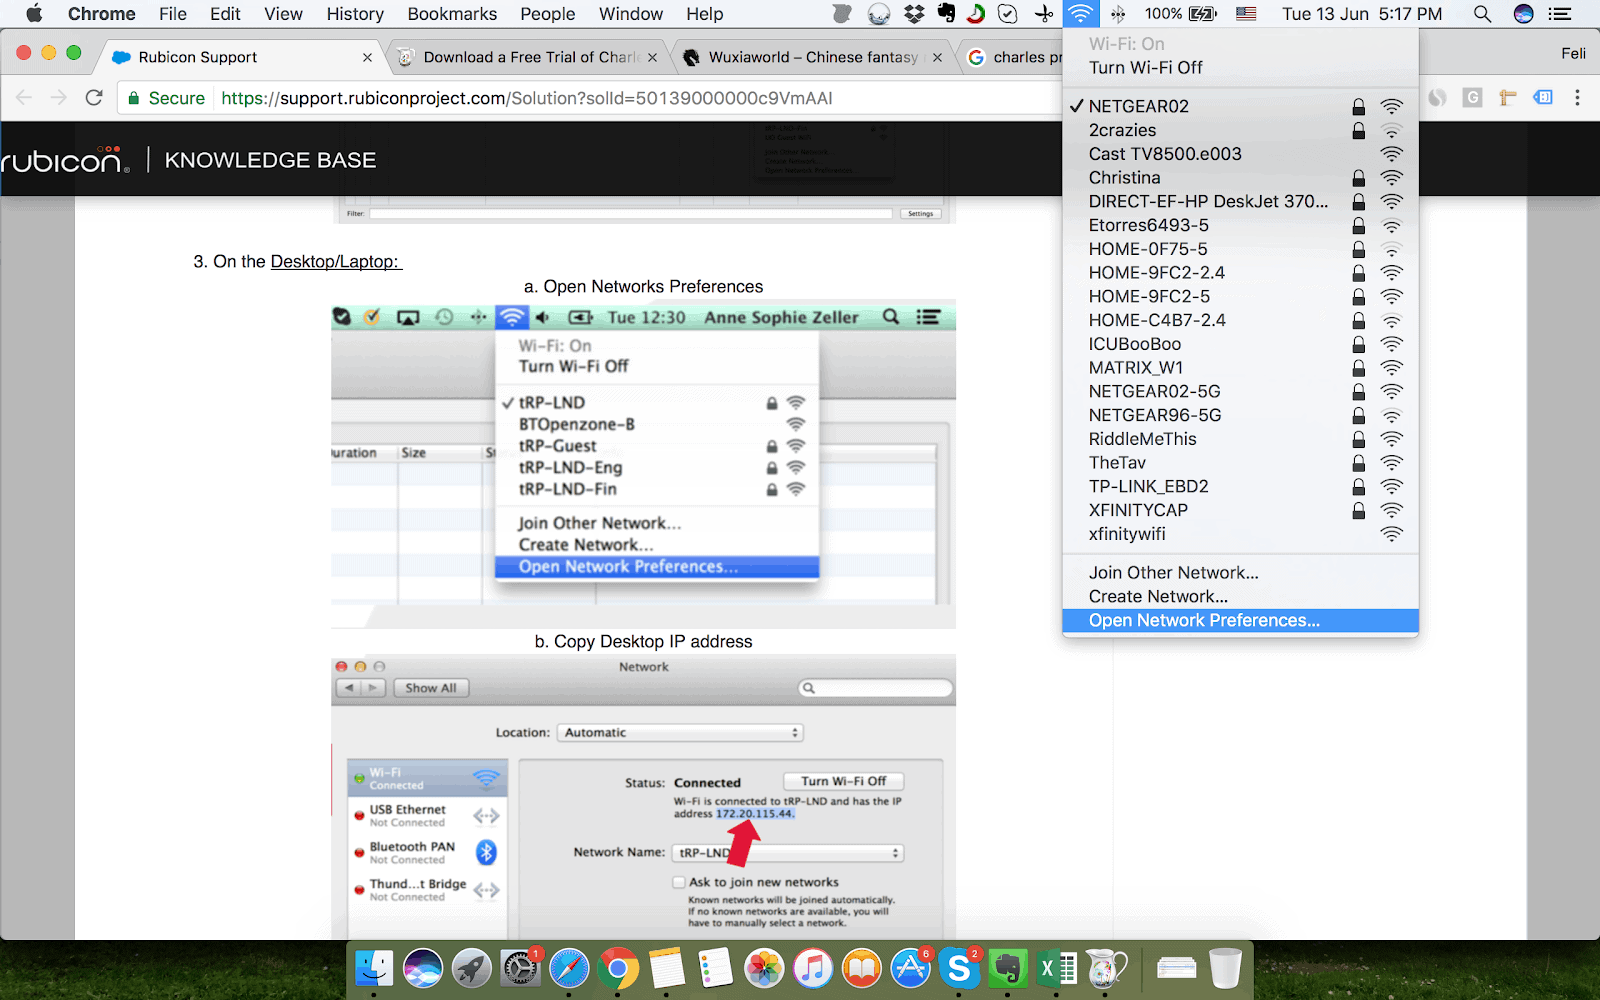
Step 3: Copy the Desktop IP address.

Step 4: On the Mobile/ Tablet Device: Select “Settings” > connect to WiFi
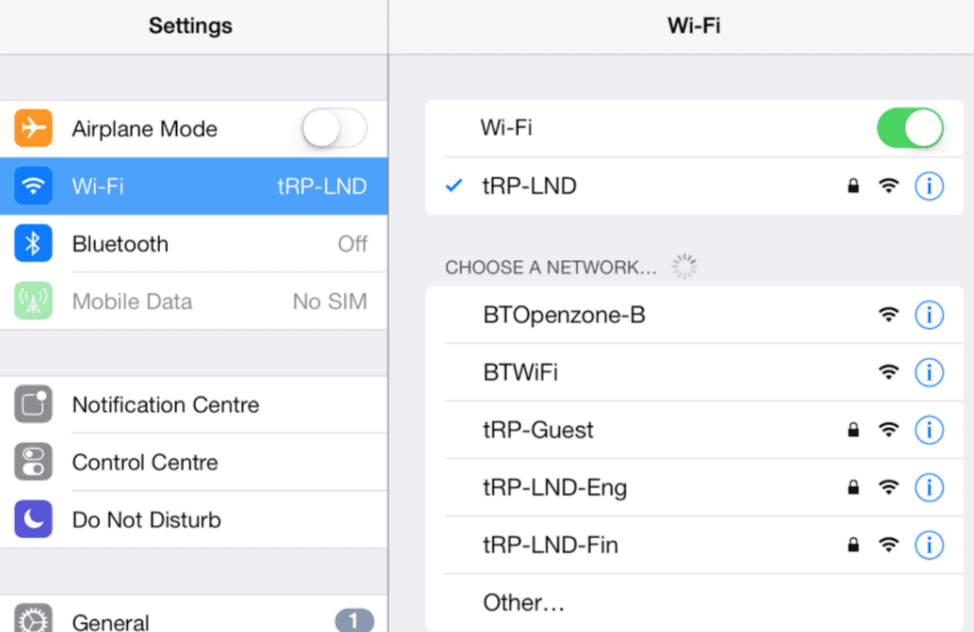
Step 5: Click the selected Wifi network.
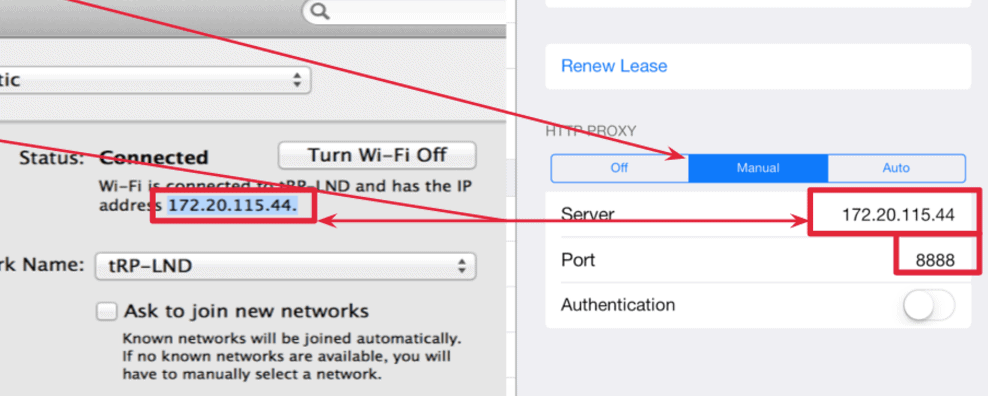
Step 6: Manually insert your IP address.
Step 7: Set Port to 8888.
Step 8: On the Computer/Laptop: Open Charles Proxy > Select the “red button” icon to start recording the session.
Mobile app store scammers are smart enough to avoid detection. The hard part with mobile redirects is it is difficult to replicate. Keep Charles Proxy recording on while you navigate through the app.
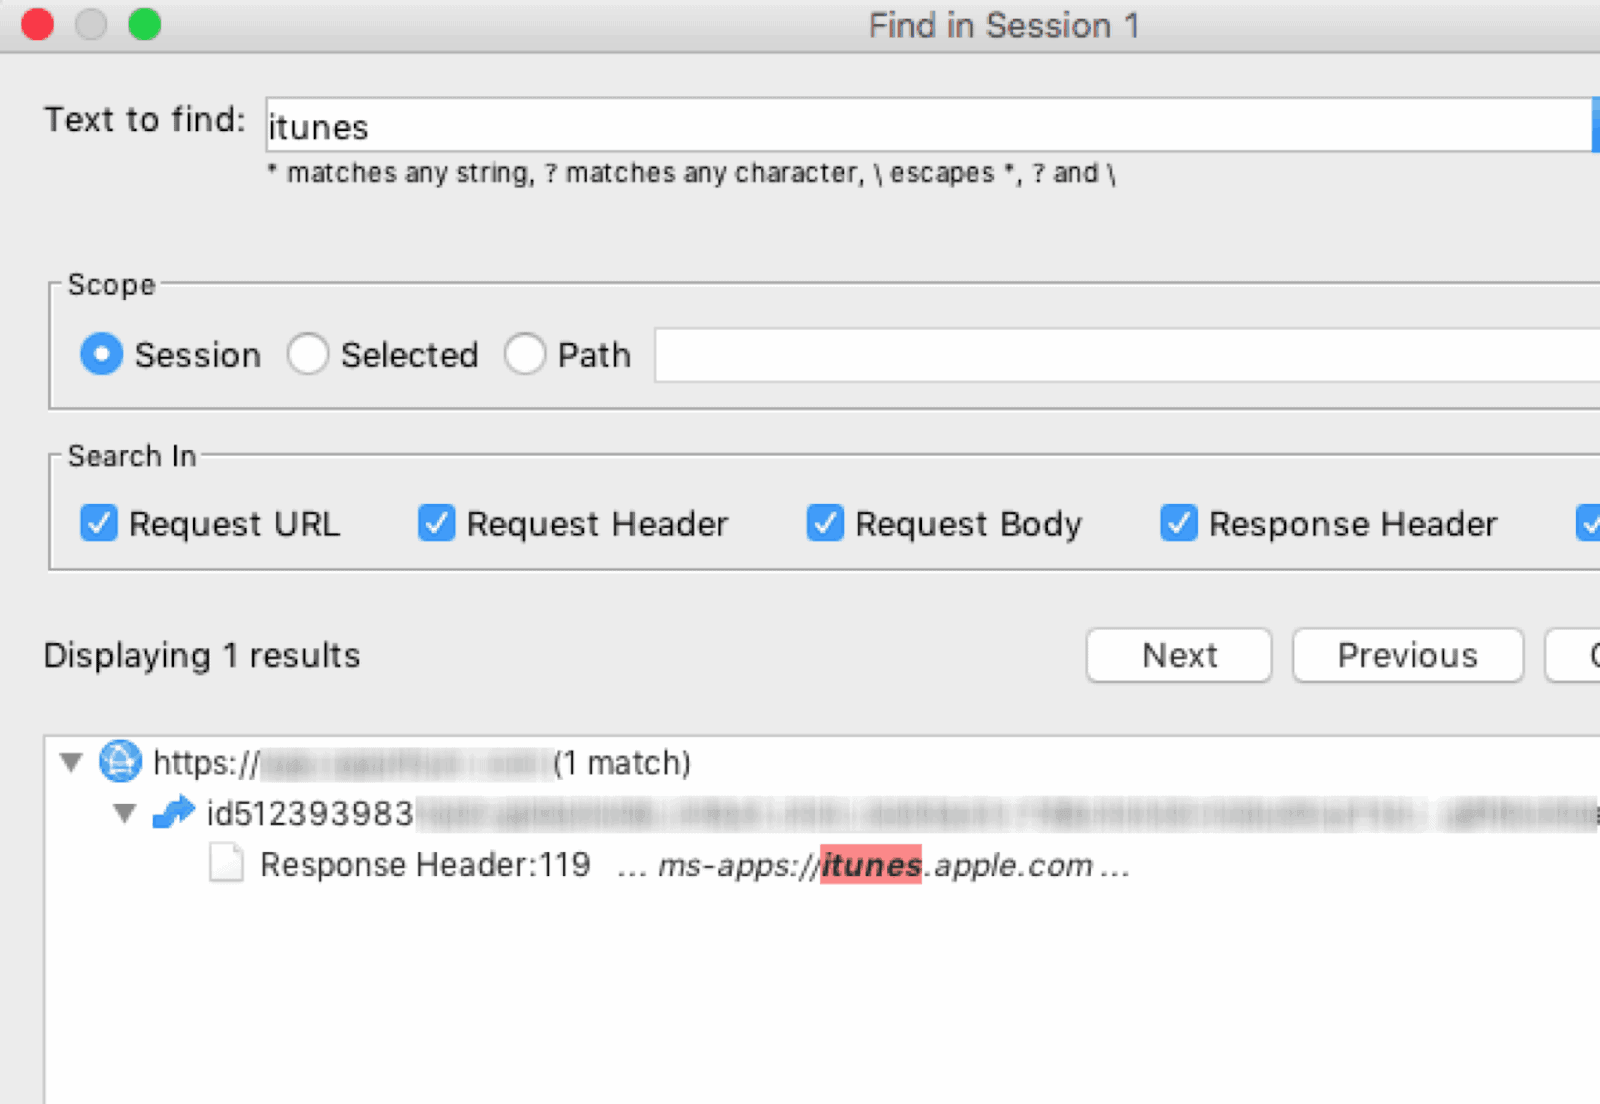
Step 1: Double-click the “Response Header” result in Charles and bring up the full details of the request using the Contents tab. The Referrer is the ad tech company responsible for serving this ad.
Step 2: Pull the Location value from the Headers tab.
Step 3: Remove everything from the URL after the ID value, and then replace “itms-apps” with ‘http’ in a desktop browser window.
Step 4: It should match the app you were initially redirected to.
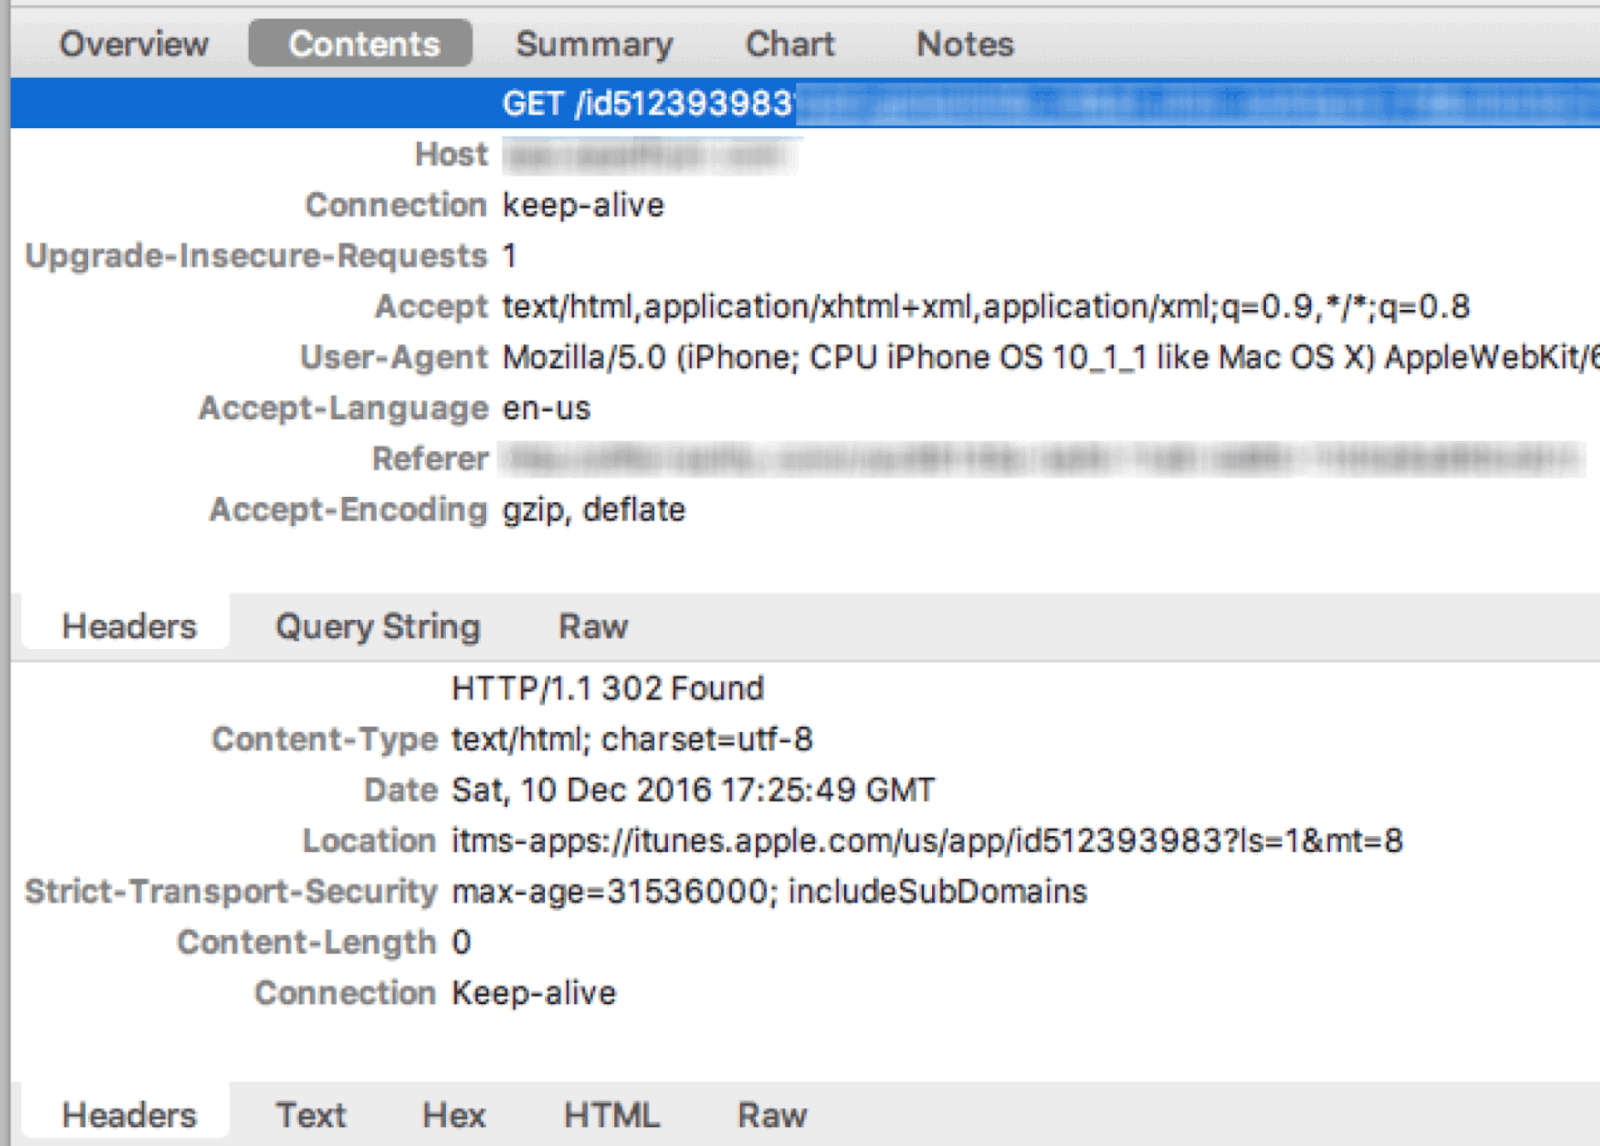
This is the link that your browser called which triggered the redirect. The thing is, this might be one of many redirects you have to sort through until you can identify a partner you work with as a publisher.
Be prepared to perform the tedious task.
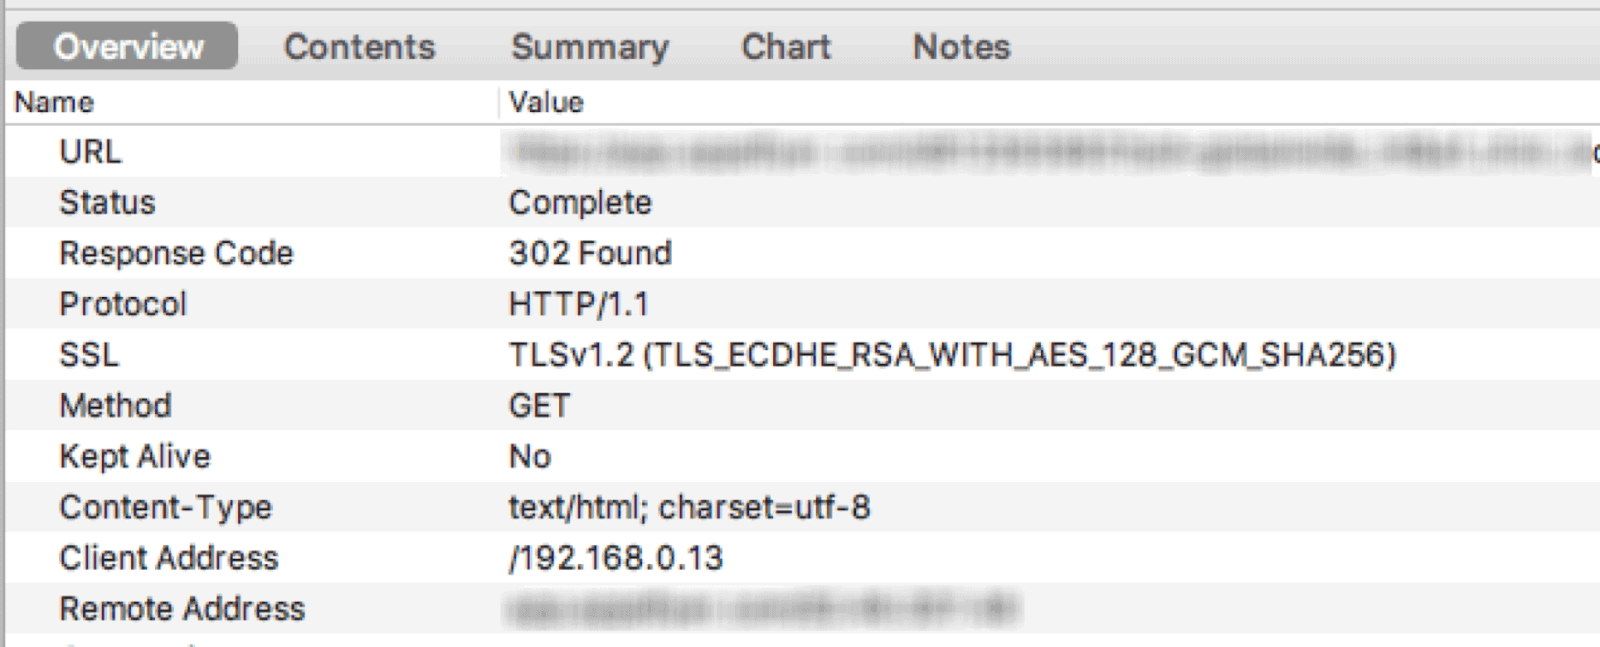
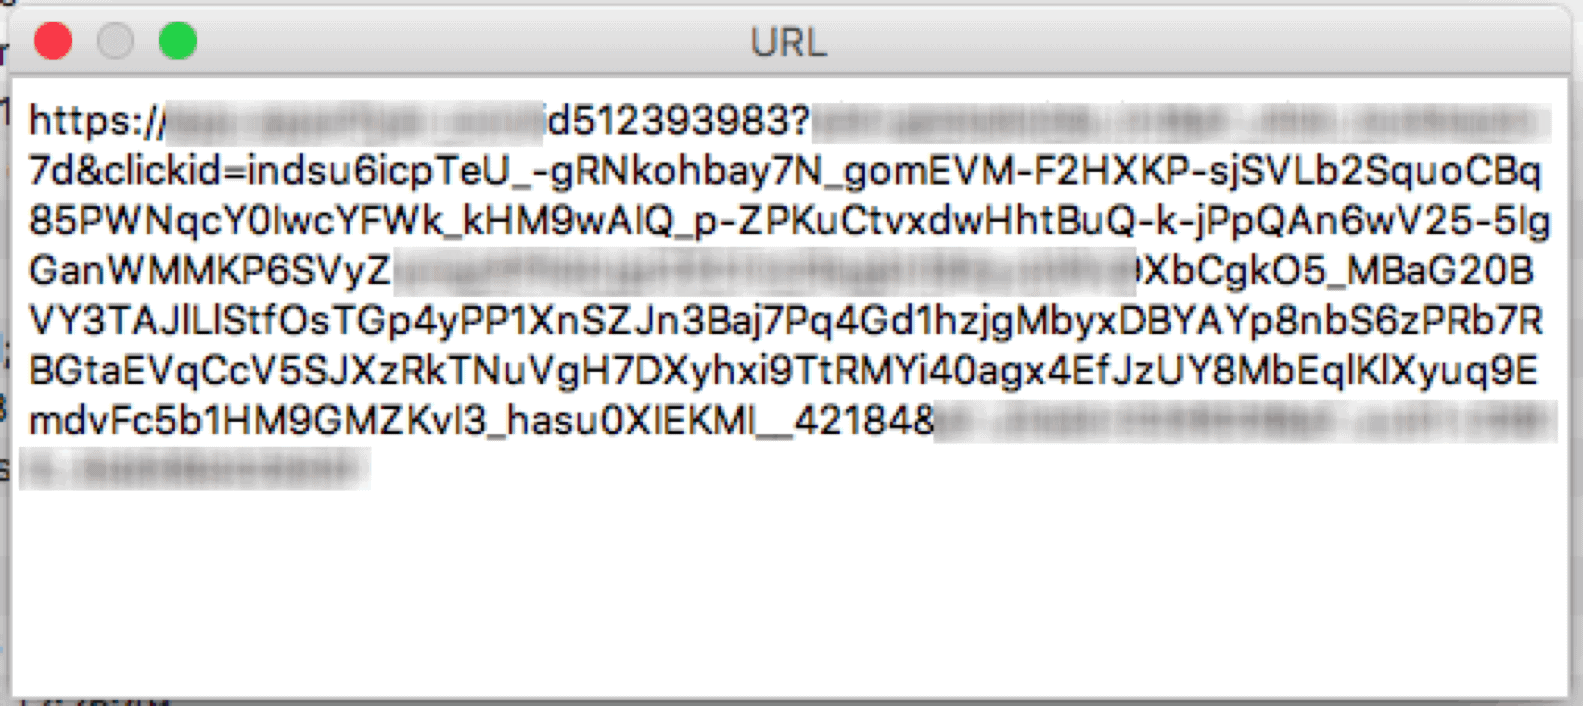
Your ad tech vendors will need this info.
Filter “securepub” to see which line item possibly created it.
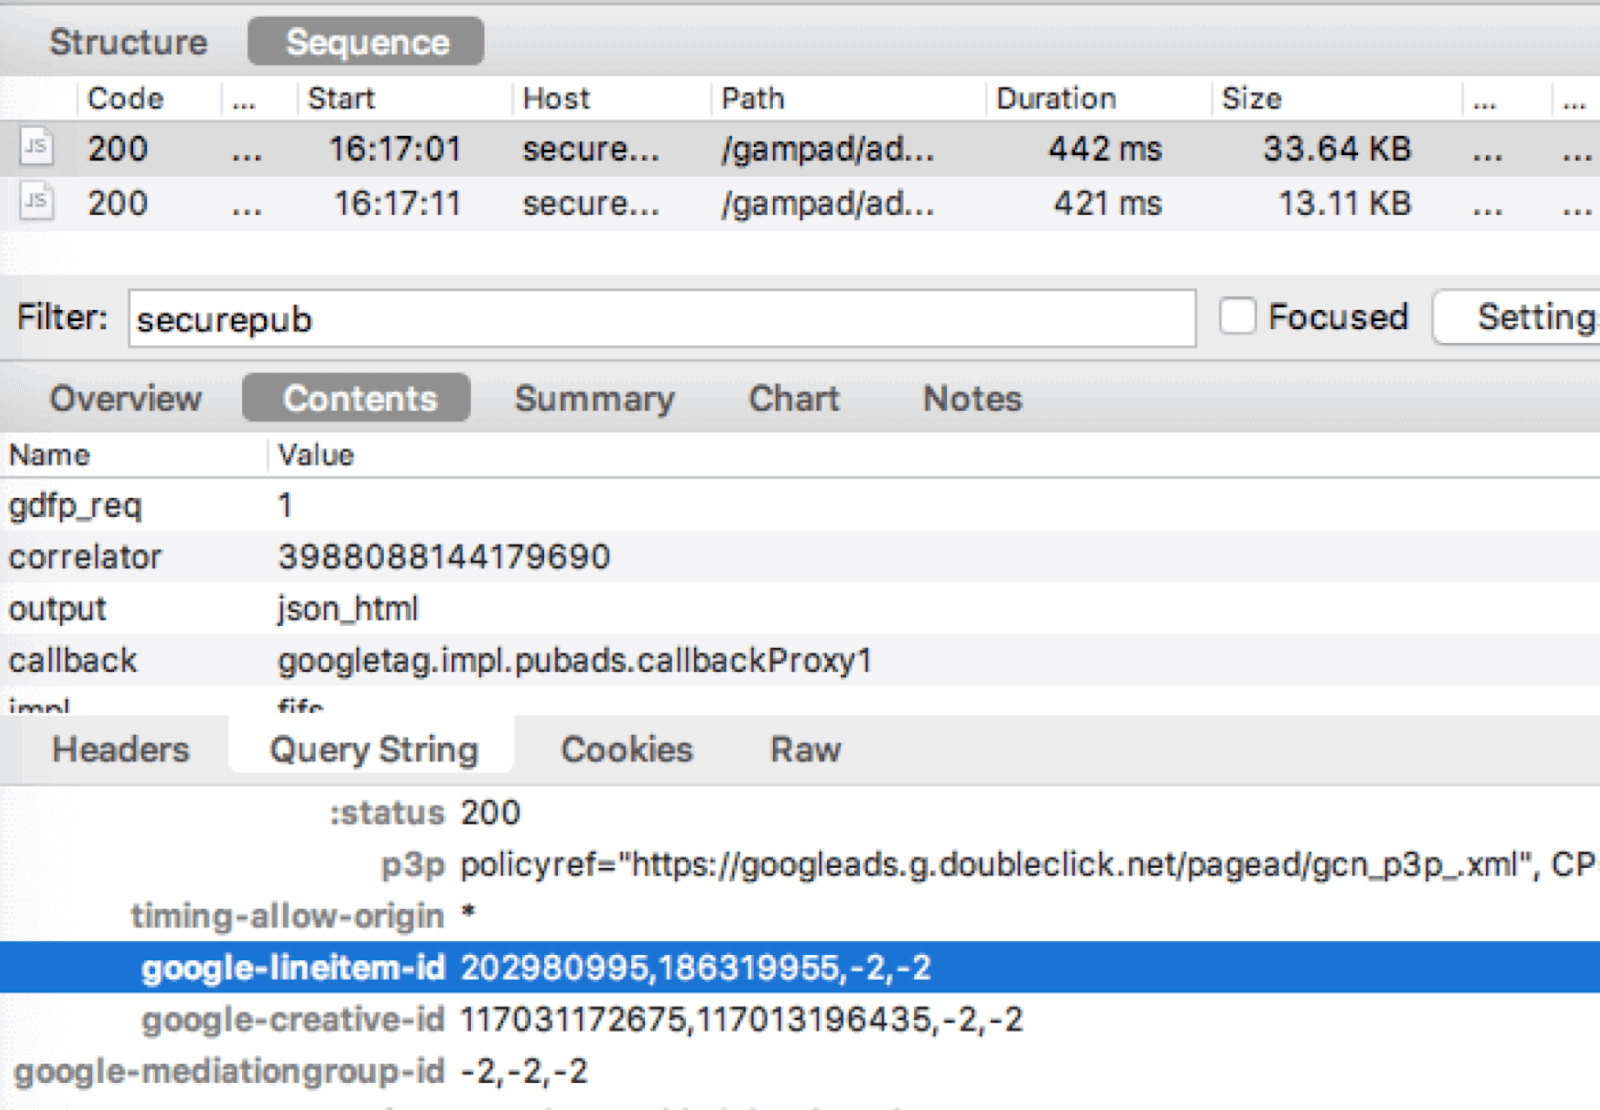
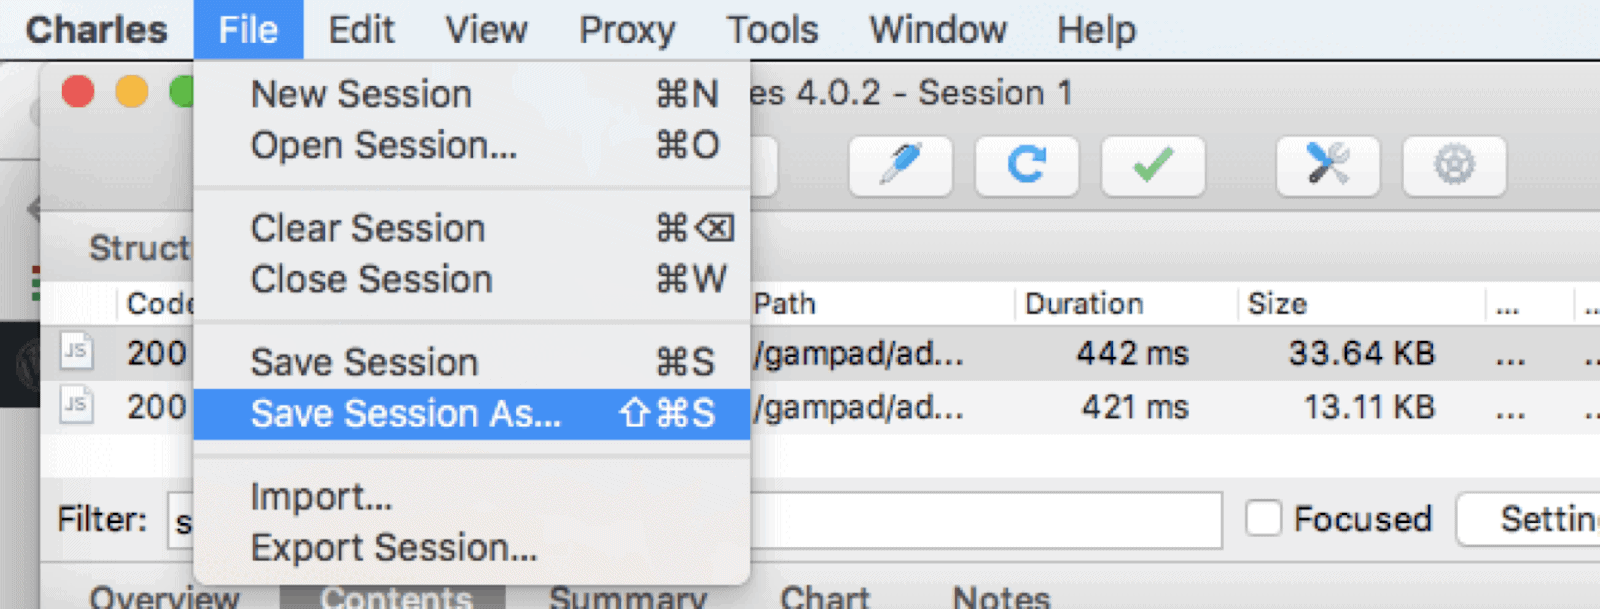
There are probably many companies involved in a long redirect chain, and each one will need specific campaign identifiers to locate and suspend the problem in their system. Your Charles session has all those details contained in it, even if you don’t necessarily know how to find them, and will help everyone move much faster.
10X your ad revenue with our award-winning solutions.