


Advanced Ads is a WordPress plugin widely used by thousands of publishers around the world to manage and optimize their ads. It comes with many intelligent features and tools to empower publishers in building and maintaining a strong monetization strategy while being compliant with policies.
The workflow is very intuitive and there’s no second-guessing. Let’s breakdown some of our favorite add-ons:
Google Ad Manager Integration
Connecting GAM directly with Advanced Ads allows you to seamlessly set up ad placements and push them live with only a few clicks. It makes the job a lot easier and you can start making money right away. Here’s how:
Click Fraud Protection
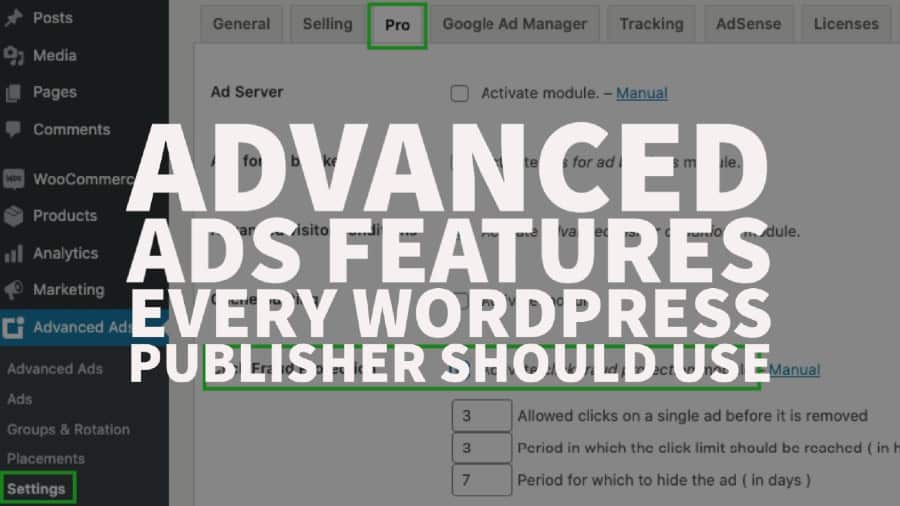
When users click on your ads too often without conversion, Google might detect that as invalid activity and could raise a flag to Ad Networks and ultimately result in getting your site banned. Advanced Ads got you covered. Here’s how to enable it:
Step 1: Click on the Advanced Ads menu
Step 2: Click on Settings
Step 3: Go to the “Pro” tab
Step 4: Tick “Activate click fraud protection module”


Step 5: Setup the maximum number of clicks you can allow for each ad within a specific number of hours, and how many days you’d like to hide the ad from this user.
If you want this feature enabled only for specific ad units, follow these steps:
Step 1: Go to Advanced Ads > Ads
Step 2: Open the ad you’d like to set up this feature for
Step 3: Scroll down to Visitor Conditions and select ‘Max. Ad Clicks’


Step 4: Click ‘add’
Step 5: Set the limit on how many clicks you would allow and for how many hours


Step 6: Scroll up, click ‘Update’
Sticky Ads
Anchor or sticky ads tend to perform well as it stays visible on the screen as the user scrolls up or down. Using Advanced Ads, there’s no need to worry about tweaking the code or changing your site layout.


Here’s how:
Responsive, AMP and Mobile Ads (Size Mapping)
Size Mapping is a feature in Google Ad Manager that ensures only appropriate ad sizes are served based on the device’s screen size the user is on. If you watched our tutorial on how this is configured in GAM, you’ll see how it’s a “little” complicated with many steps and preparation involved.
Unlike Adsense responsive ad, GAM requires you to define your own rules in terms of browser size and corresponding eligible ad sizes to serve. Here’s how to set up Size Mapping using Advanced Ads plugin:
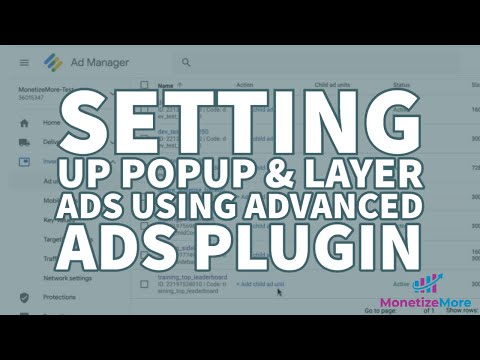
PopUps and Layers
This feature enables an ad to float on-screen with a visible X button so users can easily exit or close the ad when they decide to. When running this ad format, we’d highly recommend adding a frequency cap in the GAM line items targeting it, so it doesn’t keep showing up in every page load.


Here’s how it works:
Tracking
If you are obsessed with data (well, you should!), this add-on is your absolute best buddy. It lets you track the activity of your ads and provides statistics on clicks and impressions to guide your ad optimization decisions.
Features:
- choose from one of 4 methods to count impressions
- track impressions or clicks locally or with Google Analytics
- spread impressions and clicks over a period when an expiry date is set
- enable or disable tracking for all ads by default
- enable or disable tracking for each ad individually
- track clicks
- wrap ads with links or place links manually
- dynamically attach page id, slug or category to external links
- disable tracking for bots and crawlers
- open individual ads in a new window
- add nofollow attribute to links
- track events on external sites (experimental)
- limit ad views to a certain amount of impressions or clicks
- see stats of all or individual ads in your dashboard
- view impressions by day, week, or month
- display stats in a table and graph
- compare stats for ads
- compare stats with the previous or next period remove stats for all or single ads
- filter stats by ad groups
- public stats for a single ad – e.g. to show clients
- send email reports for all or individual ads to different emails
- combine impressions and clicks with other metrics in Google Analytics
- import/export CSV reports
Geo-Targeting
This add-on allows you to specify the country/state/region/city in which your ads are eligible to serve. You can also decide to exclude ads from certain locations. It becomes very useful especially if you have campaigns with specific geo-targeting criteria and make them more relevant to users, ultimately increasing performance.
- Go to Advanced Ads > Ads
- Scroll down to Visitor Conditions
- Select Geolocation


